This one was named after our kids’ favorite youtube video. If you’ve seen it before, you probably can guess the flavor. If you haven’t seen it and want to waste 3 minutes of your life on the dumbest thing you’ve ever seen, then here it is:
https://www.youtube.com/results?search_query=trale+lewous+butterfinger
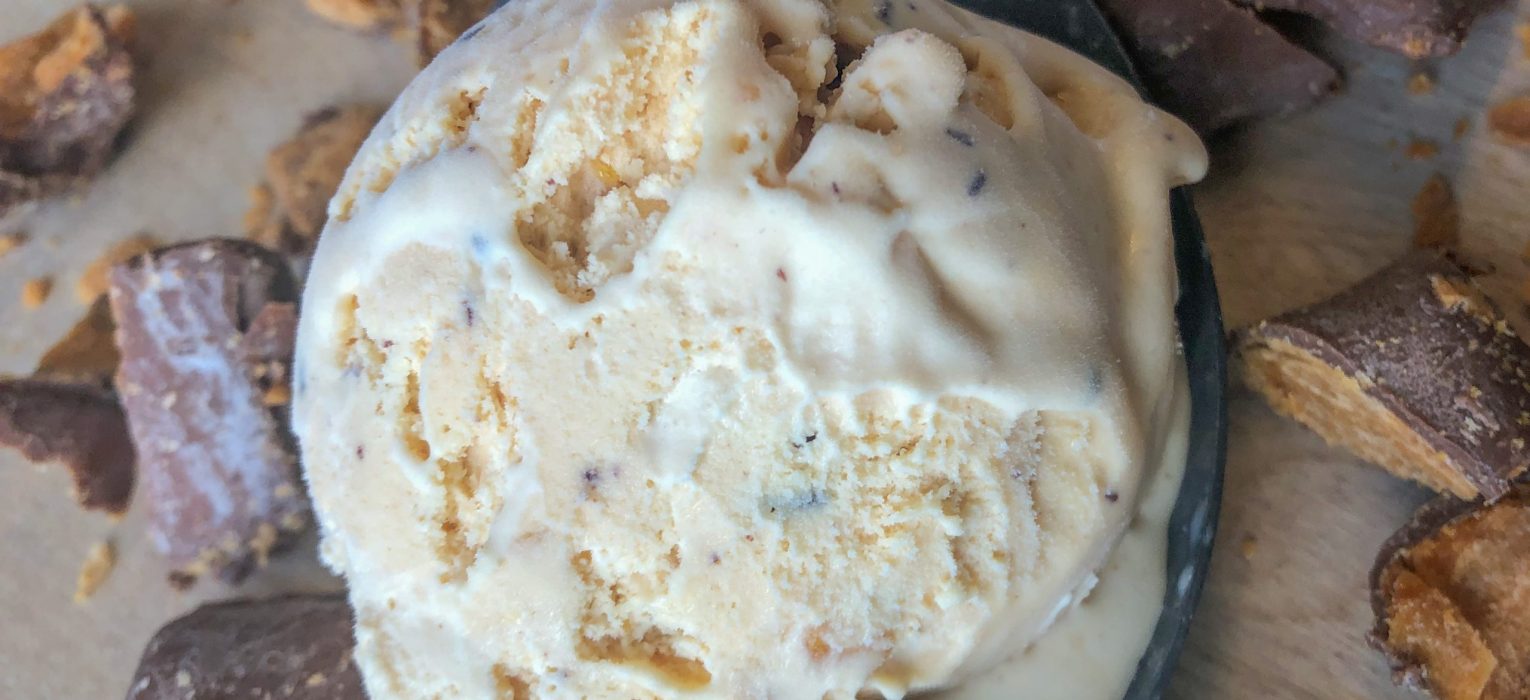
Now that you’ve seen the kind of low brow humor that is celebrated in our house, let me introduce you to Tasty Life Ice Cream:
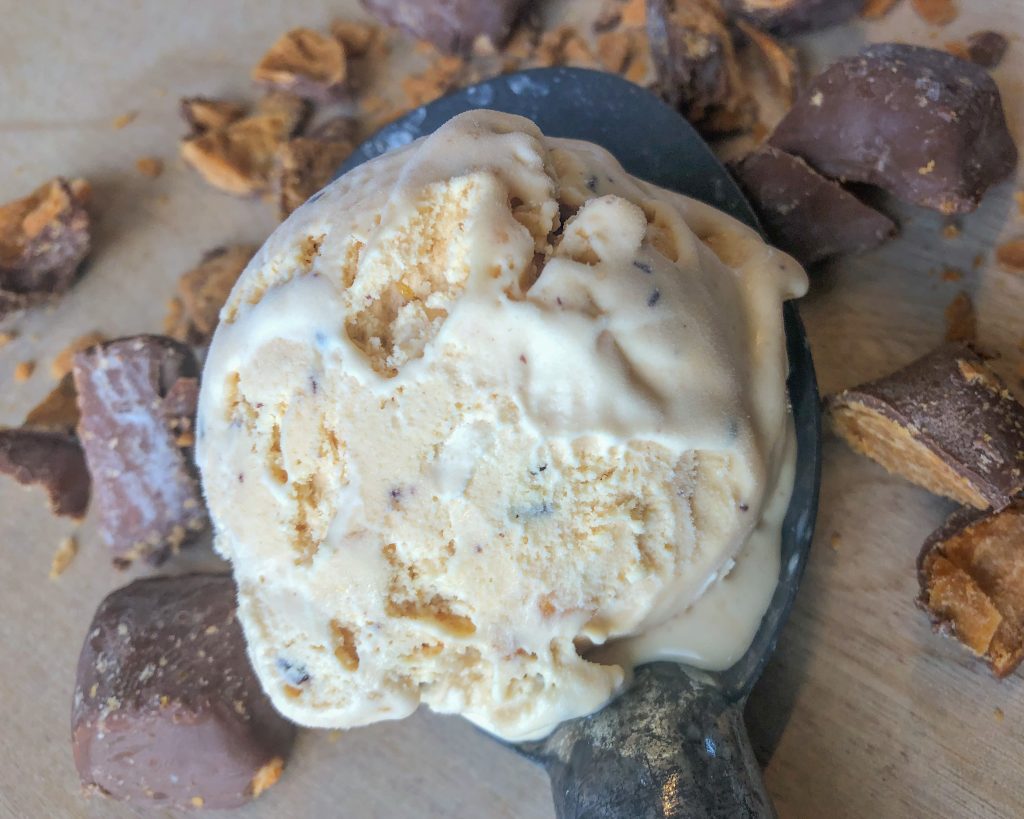
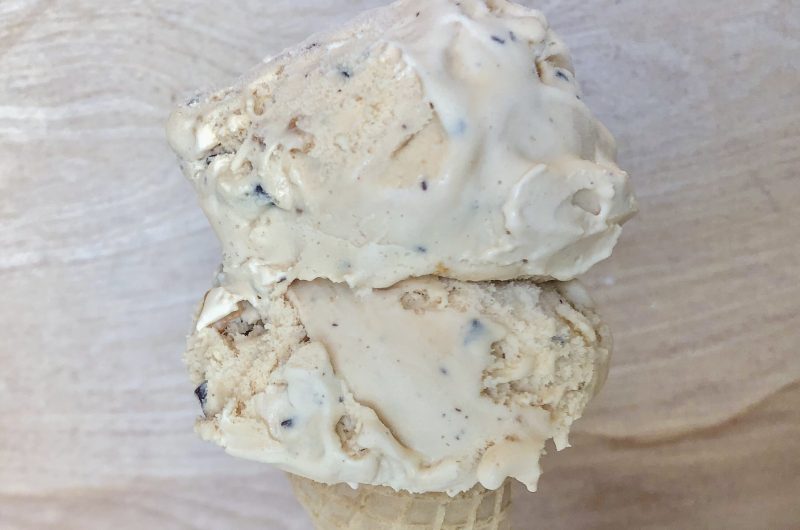
We wanted to make a Butterfinger ice cream, but we didn’t want it to be like all of those grocery store versions that are just vanilla ice cream with Butterfinger pieces in it. Instead, we took the components of a Butterfinger and turned that into an ice cream. So, it ended up being a salted peanut butter and caramel base with chocolate chunks and thin candy coated cornflakes to give the right texture. Without having any of the actual candy in it, it tasted pretty darn close to the candy itself! If you’re a fan of the bar but don’t want it to stick to your teeth, this is the ice cream for you!
Tasty Life
Butterfingers is easy.
Ingredients
- Salted Peanut Butter Caramel Base
8 oz corn syrup
2 oz water
2 tsp molasses
2 Tbs brown sugar
1/2 tsp sea salt
3 heaping Tbs peanut butter
2 cups heavy cream
1 cup whole milk
4 large egg yolks
1/4 cup powdered milk
- Chocolate Chunks
1/2 cup chocolate chips (I used dark chocolate)
1 tsp coconut oil
- Sugar Coated Cornflakes
1 1/4 cup corn flakes (we got ours at Trader Joe’s because they are thinner)
4 Tbs melted butter
4 Tbs sugar
Directions
- Salted Peanut Butter Caramel Base
- Mix the cornstarch and water. Heat on medium heat, stirring occasionally, until the mixture reaches about 290 degrees.
- Swirl in the molasses.
- Slowly stream in 1 cup of cream, little bits at a time, stirring constantly. If the caramel seizes up, just keep stirring over heat until all of the caramel dissolves.
- Remove that from the heat. Add in the brown sugar, peanut butter, salt, the rest of the cream, milk, dry milk powder, and eggs. Mix thoroughly, making sure there are no remaining clumps.
- Return the saucepan to the burner and heat over medium low heat until the base reaches a temperature of 162 degrees. Keep the base on a low heat and stir constantly, allowing the base to reduce for about 10 minutes.
- Add base to a plastic gallon bag, and put in a prepared ice bath until cooled (about 15-20 minutes).
- Add the prepared base to the ice cream maker. Make in your ice cream maker based on the maker’s instructions.
- During the last 5-10 minutes in the machine, when the ice cream is about the texture of soft serve, add in the chocolate chunks and coated cereal pieces. Don’t add it all in! Add handfuls at a time until you get your desired chunkiness.
- Move to the freezer until hardened (about 4 hours).
- Chocolate chunks
- Add the chocolate chips and coconut oil to a microwave safe bowl. Microwave 30 seconds at a time, stirring in between to help prevent burning it.
- Spread the chocolate into a thin layer on a cookie sheet lined with parchment paper. Move to the freezer and allow to harden.
- Right before it is time to add the chocolate chunks to your ice cream, remove the cookie sheet from the freezer and chop the chocolate into small pieces. Add them back into the freezer for a minute before adding them to the ice cream. They melt fast so be quick!
- Sugar Coated Corn Flakes
- Preheat the oven to 400 degrees. In a medium bowl, stir together the sugar and Cornflake pieces.
- Melt the butter. Pour that over the sugar/cereal mixture. Stir until the cereal is all coated in the butter.
- Spread the mixture into a thin layer on a cookie sheet lined with parchment paper.
- Bake for 7-10 minutes, stirring halfway through. The cereal will darken in color, but it shouldn’t burn.
- Allow the cereal to cool completely. Once it does, you can break it up into small pieces, no bigger than a pea.