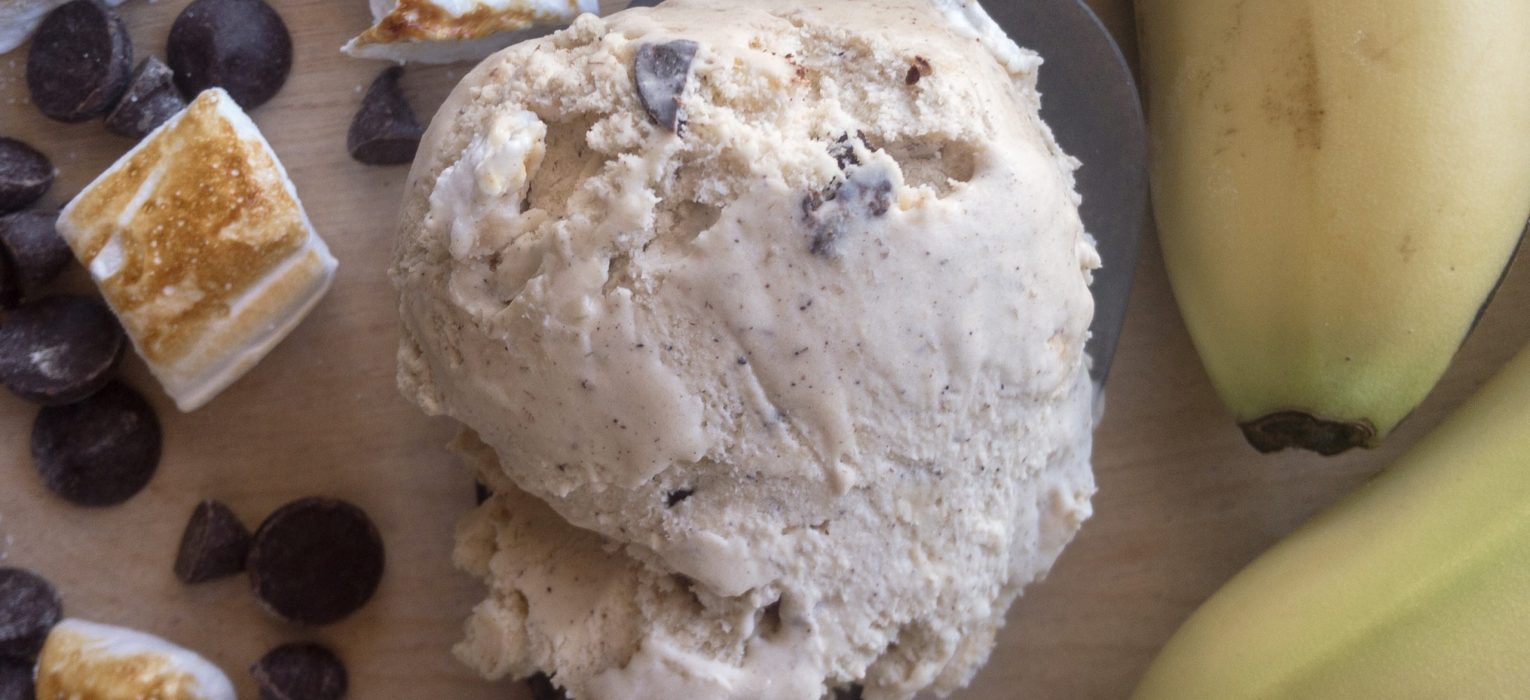
It is definitely getting hot here. I can no longer step outside without shoes, which is a sad, sad, day. To ease the blow, we decided it was time to brainstorm some summer flavors. When I thought of summer, one memory that came to mind was at a summer camp. We all got bananas, cut a slit down the middle of them, and filled them with marshmallows and chocolate chips. Then, we wrapped them in foil and cooked them over the fire. The chocolate and marshmallows got all gooey, the banana roasted, and the whole thing just sort of melted in your mouth. It was amazing!
So, we decided to ring in the summer with Campfire Banana Boat ice cream. We also did something kind of fun with it. Instead of cooking it on the stove, we cooked it sous vide style! In the recipe I will write out the stove top directions, but if you wanted to try sous viding like we did, you simply mix all of the ingredients together (aside from the banana and chunks) and cook it using the sous vide set to 162 degrees for 45 minutes. After that, you plunge it into an ice bath and then follow the recipe instructions from there. If you don’t know what a sous vide is, look up some videos and check it out! We use it all the time to make meat, and the ice cream turned out pretty darn phenomenal too!
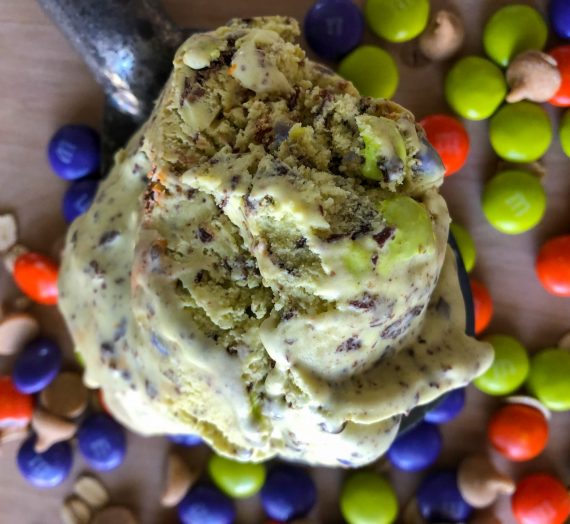
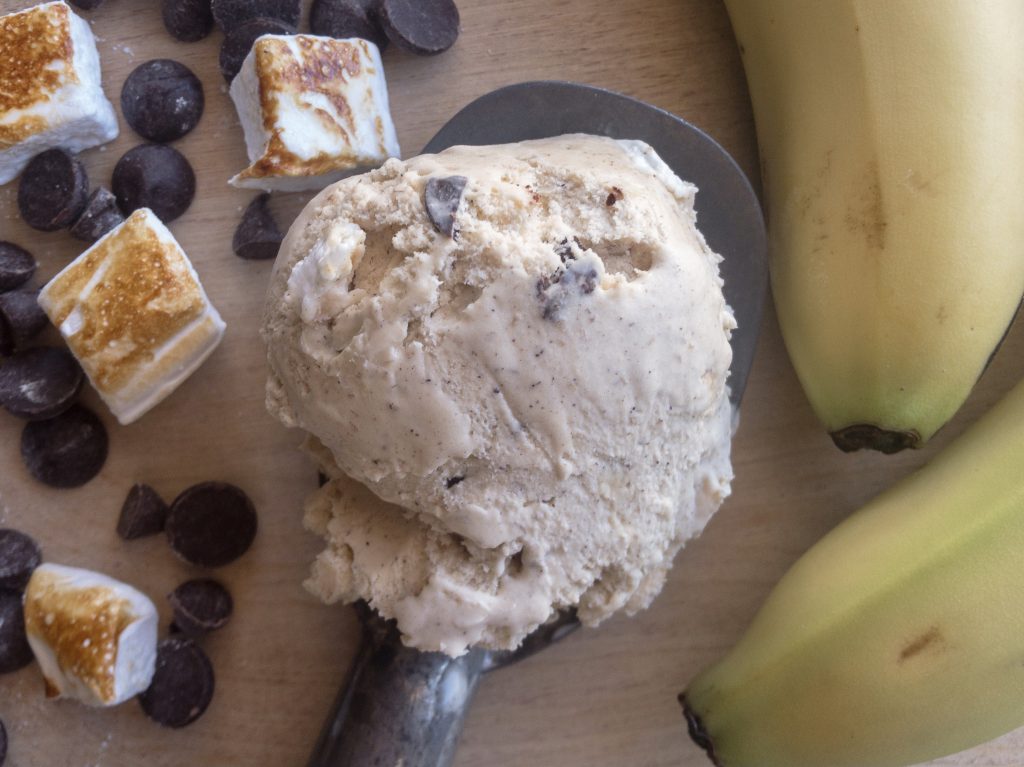
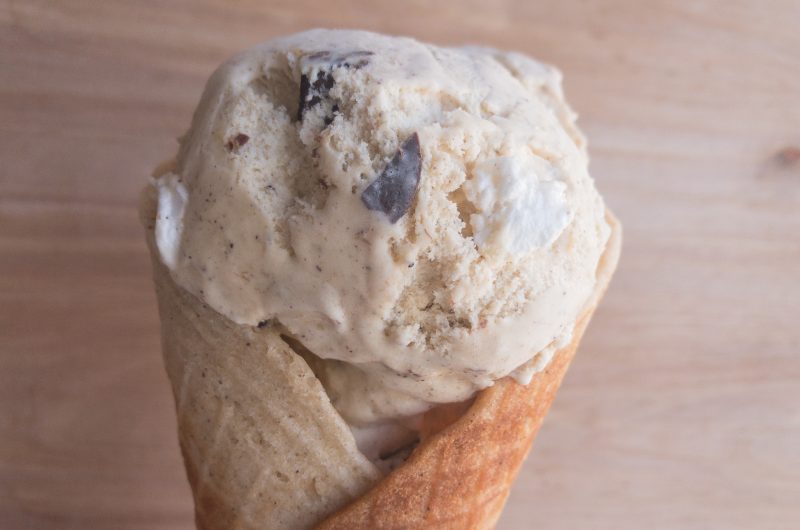
Campfire Banana Boat ice cream is a delightful roasted banana brown sugar ice cream with toasted homemade marshmallows and chocolate dipped waffle cone pieces. You should definitely try it! I promise you won’t regret it!
Campfire Banana Boats
We’re pretty fired up for this one!
Ingredients
- Roasted Banana Base
3-4 medium bananas
A few Tbs brown sugar
Sprinkle of salt
4 egg yolks (5 if you are sous viding it)
1/4 cup skim milk powder (1/3 cup if you are sous viding it)
1/2 cup brown sugar
2 cups heavy cream
1 cup milk
1 Tbs vanilla
- Chocolate dipped waffle cone pieces
Waffle cone, broken up into pieces (You can use store bought, of course, but we used this recipe)
2 oz bittersweet chocolate
1 tsp canola oil
- Homemade Marshmallows (from Jeni’s Splendid Ice Cream at Home)
1 cup cold water
3 (1/4 ounce) packets gelatin
2 cups sugar
3/4 cup corn syrup
1/4 tsp sea salt
Powdered sugar (for dusting)
Directions
- **The marshmallows need to be made the day before if you are making homemade. Everything else can de done day of
- Roasted Banana Base
- Preheat the oven to 350 degrees. Cut the bananas into 1/2 inch slices and place them in a single layer on a cookie sheet.
- Sprinkle brown sugar and a dash of salt on top of the bananas. Bake for 30 minutes, without flipping. They will turn brown and caramelize a bit on the top.
- Mash the bananas until it is the consistency that you want (if you want chunkier pieces of banana in your ice cream, leave it a little chunky). I mashed it until it was pretty darn smooth.
- Cover with cling wrap and allow it to cool completely.
- To prepare the rest of the base, whisk the egg yolks until they are light and fluffy, about 2 minutes. Slowly whisk in the brown sugar until the color turns lighter and the consistency is smooth, about 2 minutes more. Add the powdered milk and whisk again until well blended.
- Add the egg/sugar mixture to a sauce pan along with the milk and cream. Heat on medium low heat until it reaches 162, stirring frequently and scraping the bottom with a spatula to avoid cooking the eggs. (This is where you could also sous vide it for 45 minutes at 162 and omit the reducing stage).
- Turn the heat on low once it reached temperature and stir constantly, letting the mixture reduce, for about 10 minutes.
- Add base to a plastic gallon bag, and put in a prepared ice bath until cooled (about 15-20 minutes).
- At this point, you can either just add the ice cream base and banana to the ice cream maker and let it mix them, or you can add the banana to the base, whisk it thoroughly, and then add the base to the ice cream maker.
- Make in your ice cream maker based on the maker’s instructions. Meanwhile, prepare your cone pieces and torch your marshmallows.
- During the last 5-10 minutes in the machine, when the ice cream is about the texture of soft serve, add in your cone chunks and marshmallows (make sure they are all about the size of a pea or smaller). Don’t add it all in! Add handfuls at a time until you get your desired chunkiness.
- Move to the freezer until hardened (at least 4 hours).
- Chocolate Dipped Cone Pieces
- Crush your ice cream cone into small pieces.
- Add chocolate pieces and oil to a microwave safe bowl. Heat for 30 seconds, stir, and repeat until the chocolate is melted and smooth.
- Add the cone pieces to the bowl and stir until it is all coated. Spread the pieces over parchment paper on a cookie sheet. Move it to the freezer until you are ready to add them.
- Right before you add them, cut them up into small chunks, moving quickly so as not to melt the chocolate.
- Homemade Marshmallows
- Grease a baking sheet lined with parchment paper with oil.
- Put 1/2 cup of water in the bowl of a stand mixer and sprinkle the gelatin on top of it. Mix lightly and let sit for 5 minutes to solidify a bit.
- Meanwhile, combine the other 1/2 cup of water, sugar, corn syrup, and salt in a sauce pan. Bring it to a boil, stirring to dissolve the sugar.
- Once the sugar is dissolved, stop stirring and allow the syrup to reach 236 degrees.
- Turn the mixer on low. Slowly add the hot syrup into the gelatin. Once it is all added, turn the mixer to medium, and then to high. Beat the mixture until it is thick and frothy, about 12 minutes (I set a timer for this).
- Pour it onto the prepared pan and spread into a thin, even layer. Cover with greased plastic wrap overnight.
- Cut into small marshmallow pieces, toss with powdered sugar, and store in the fridge or freezer until ready to use. (To roast it, I used a kitchen torch. You could probably broil them quickly in the oven.)