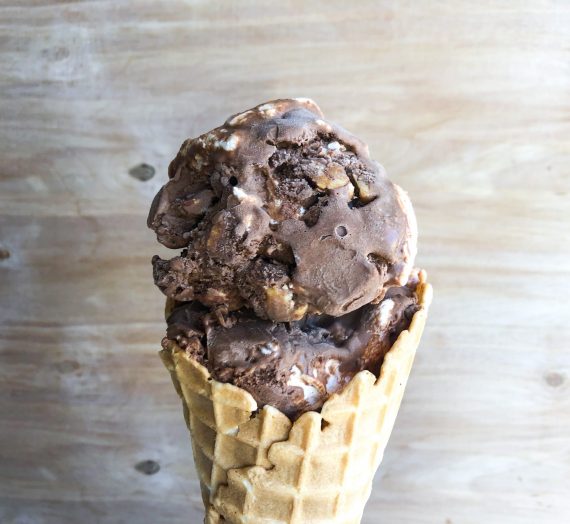
Our final Halloween flavor! It has been so fun creating all of these different ice cream concoctions to celebrate all month long. We decided to finish with what seemed like one of the most Halloween-y flavors we could come up with: Witch’s Brew. It is such a fun flavor because you can basically dump whatever you want in it, just like a witch does!
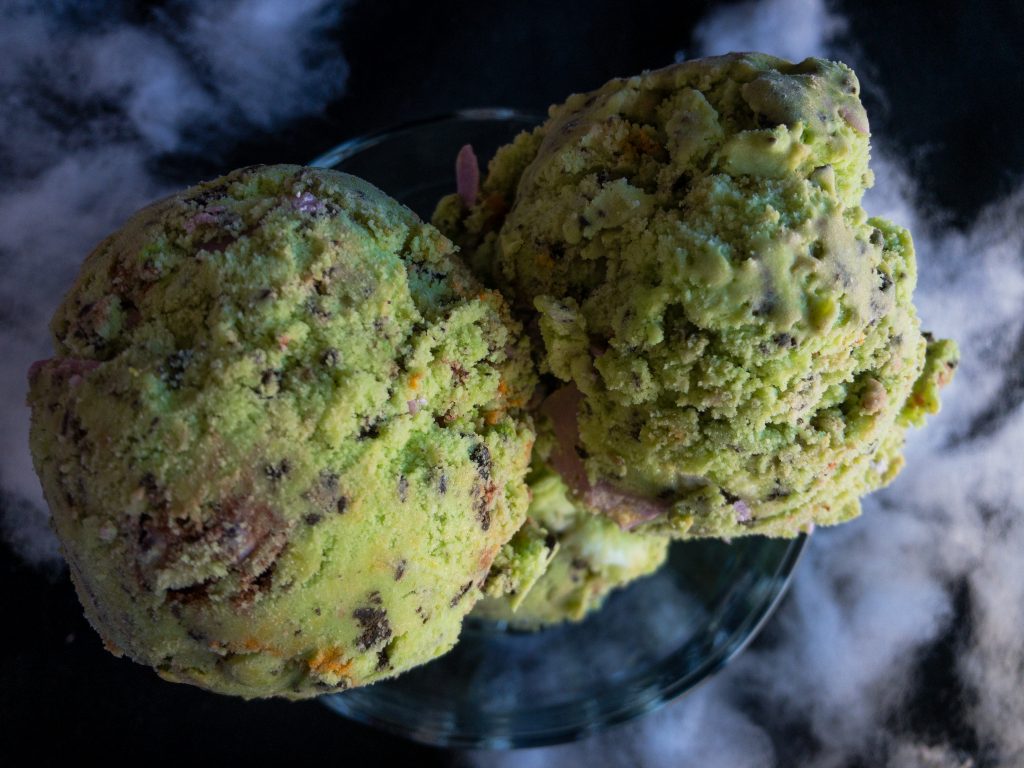
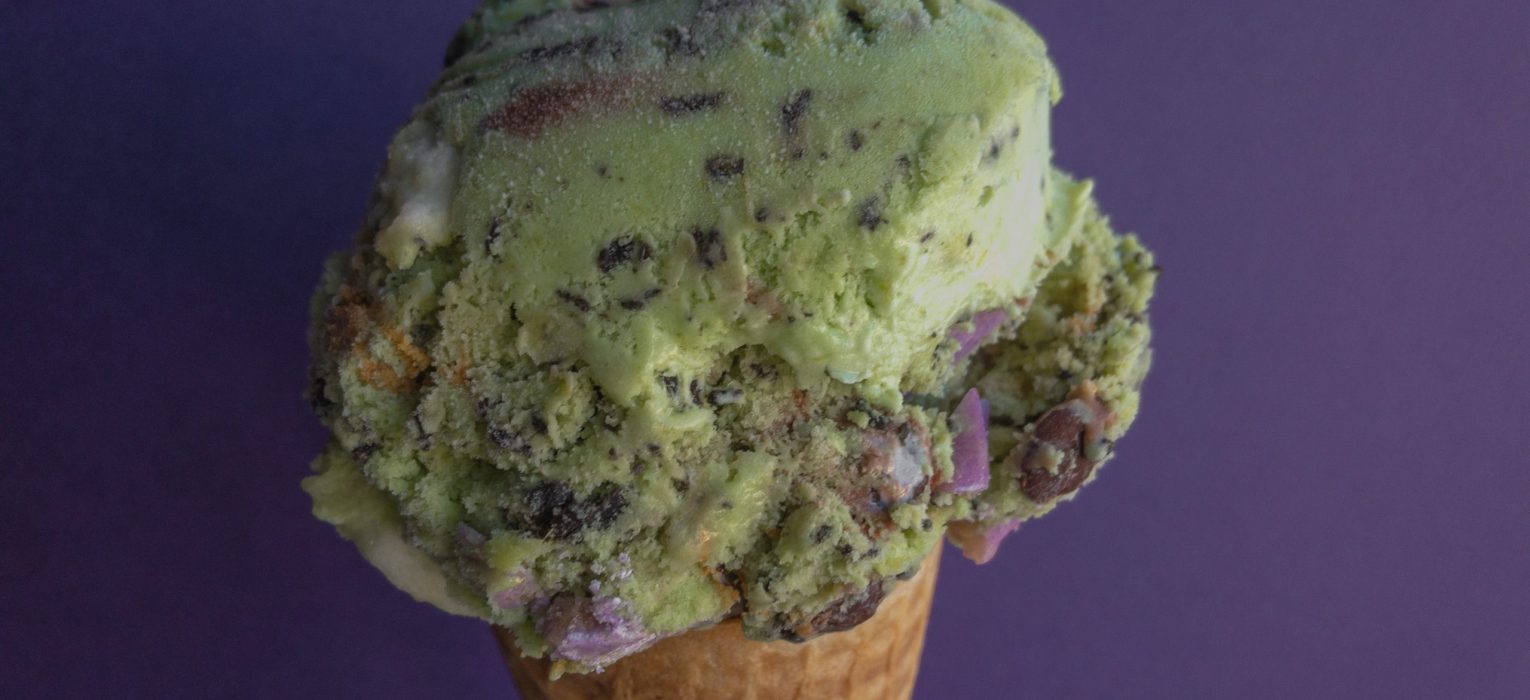
All of our kids guessed that the flavor was going to be mint, but I guess that’s the “magic” of witch’s brew, that it is not what it seems! We decided to make a banana ice cream with fresh bananas, flecked with peanut butter chocolate ganache, and stuffed with toasted marshmallows, Halloween colored mini M&Ms, and white chocolate colored pop rocks (dyed purple for effect). To really sell it we dyed the whole thing green. It turned out to be exactly what we wanted! The fresh bananas give off so much flavor, and the pop rocks leave you with a fun little sensation in your mouth while you are eating. (Just note, you have to cover the pop rocks in chocolate if you don’t want them to lose their “pop” before they hit your mouth, and even then it’s not as strong of a reaction as just eating straight pop rocks. It’s just a fun slight fizz in your mouth).
This concludes our collection of Halloween ice cream flavors this year. Happy Halloween from our ghouls to yours!

Witch’s Brew
It’s wicked good!
Ingredients
- Banana Base
1 cup heavy cream
1 cup whole milk
3/4 cup sugar
2 large eggs
1 Tbs vanilla extract
Dash of salt
About 4-5 overripe bananas (not frozen)
Green food coloring (optional)
- Chocolate Peanut Butter Ganache Flecks
1/2 cup bittersweet chocolate chips
1/4 cup peanut butter chips
2-3 Tbs heavy cream
- White Chocolate Pop Rocks
1/2 cup white chocolate chips
1 tsp coconut oil
Popping candy (We used this kind because they are flavorless, but you could use regular pop rocks too, they will just add some flavor)
Purple food coloring (optional)
- Other Mix Ins
Halloween Mini M&Ms
Marshmallows (We used and torched these homemade ones we had left over from a former ice cream, but you could do store bought)
Directions
- Banana Ice Cream Base
- Heat the 1 cup heavy whipping cream and 1 cup milk on low in a medium saucepan until it reaches 140° F, stirring occasionally. While the custard heats, using an electric mixer to whisk the 2 large eggs in a medium mixing bowl until light and fluffy, about 2 minutes.
- While the cream is still heating, slowly add the 3/4 cup sugar into the eggs, whisking thoroughly to make sure the mixture doesn’t become grainy.
- After the cream reaches the target temperature, gradually pour it into the egg and sugar mixture, again whisking each time the cream is added to avoid cooking the eggs.
- Pour the entire mixture back into the medium saucepan and heat it to 170° F.
- Now pour the mixture back into the mixing bowl. Cover and chill for 1 hour or up to 3 hours.
- About 15 minutes before you move the ice cream to the ice cream maker, peel your bananas and mash them with a fork or potato masher until they are pulverized and runny. A few chunks are okay, but try to get out as many chunks as you can. Move the mashed bananas to the freezer for about 10 minutes.
- Add the vanilla and salt right before adding it to the ice cream maker. When ready, make in your ice cream maker based on the maker’s instructions. Immediately after you add the ice cream base to the maker, add the bananas and let the machine mix them in. (Also add the food coloring at this time if desired).
- During the last 5 minutes in the maker (when the ice cream is about the texture of soft serve), add your mix ins. Don’t add it all in! Add handfuls at a time until you get your desired chunkiness.
- Finish by adding your ganache and letting it fleck. Once the ganache is exactly the way you want it, immediately move the ice cream to the container of your choice.
- Move the ice cream to the freezer and allow it to harden for at least 4 hours.
- Chocolate Peanut Butter Ganache
- Heat the chocolate chips and peanut butter chips with about 2 Tbs of cream 30 seconds at a time in the microwave. After each time in the microwave, take it out and stir. Be careful not to burn it! If it still seems too thick, you can add more cream, but do so in really small amounts!
- Give it time to cool a bit before you add it to the ice cream. (Instructions on how to add it to the ice cream is in the base recipe above).
- White Chocolate Pop Rocks
- Melt the white chocolate with a little bit of coconut oil for 30 seconds at a time in the microwave, stirring in between intervals, until melted and smooth.
- If using, stir in the food coloring. Allow the chocolate mixture to cool slightly, but not harden.
- While the chocolate is cooling, make little piles (no bigger than a dime) of popping candy on a parchment lined cookie sheet.
- Once the chocolate has had a chance to cool slightly, drizzle little dollops of chocolate over each of the piles. Move the chocolate around a little bit, just to make sure the candy is all coated. You don’t want to move it too much though, or the candy will lose it’s fizz.
- Allow the white chocolate candy piles to harden in the freezer. Immediately before adding them, get them out of the freezer and just break up any piles that may have stuck together. Try not to handle them too much as you add them to the ice cream maker.
- Don’t forget to add the M&M’s and marshmallows as well! (We toasted the marshmallows, but you certainly don’t have to).